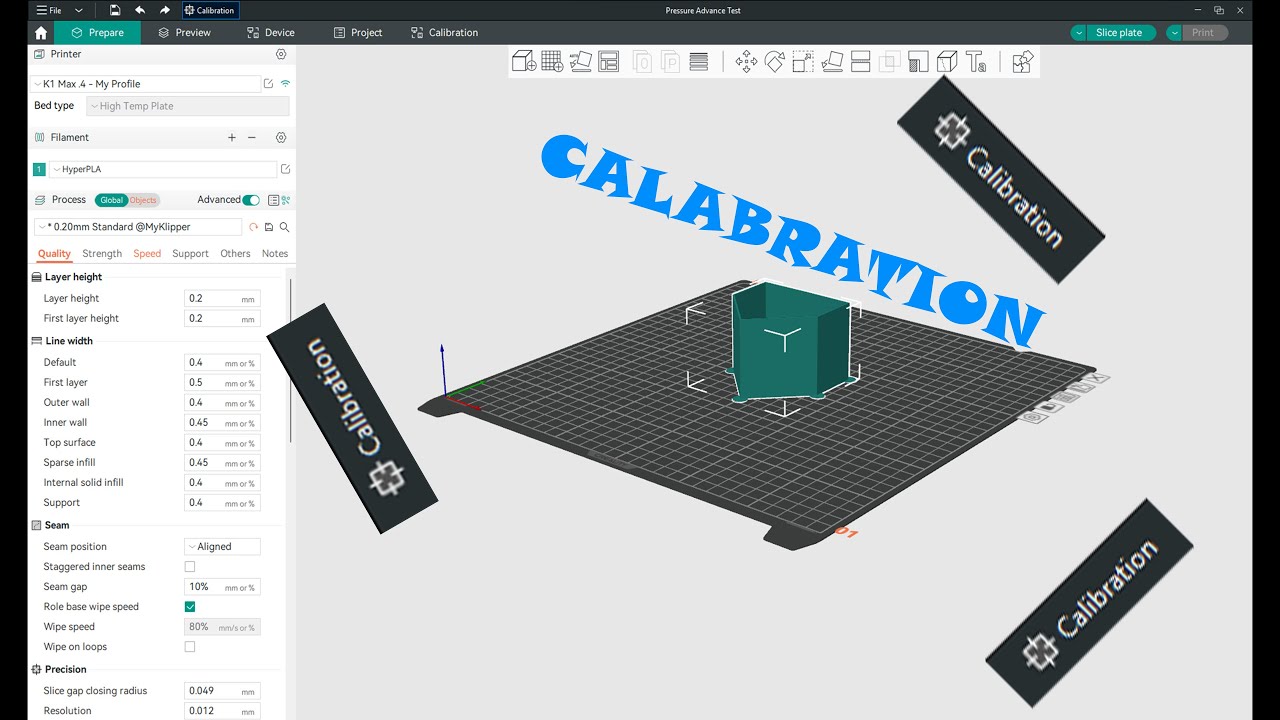
Project: Orca Slicer
If your prints are “almost there” but still show ringing, weak bridges, or inconsistent walls, calibration is usually the missing piece—not another hardware upgrade.
The good news: you can run genuinely advanced tuning routines without spreadsheets or trial-and-error marathons. With the right workflow, a few targeted tests will tighten dimensional accuracy, surface finish, and reliability across filaments.
Many of these tools are built into Orca Slicer, so you can iterate fast and keep results tied to the exact profile you print with.
Start with a smart baseline (so tests actually mean something)
Before you chase fine-tuning, lock down the basics. Advanced calibration only works if your baseline is stable—otherwise you end up “calibrating around” a mechanical or thermal issue.
- Dry your filament (especially PETG, Nylon, TPU) to reduce stringing and uneven extrusion.
- Confirm nozzle size and filament diameter assumptions match reality.
- Make sure first-layer squish is consistent across the bed (mesh/leveling + clean build plate).
- Use a known-good temperature range for the material (manufacturer guidance is fine to start).
Pressure advance (linear advance) tuning for sharper corners
If you see bulging corners, inconsistent line width after travel moves, or blobby seam starts, pressure advance is one of the highest-impact calibrations you can do. It compensates for pressure lag in the hotend during acceleration changes.
How to do it efficiently:
- Print a pressure advance test at your normal speed and acceleration (don’t tune at “slow mode” if you print fast).
- Pick the value where corners look crisp but not underfilled, and where line width stays consistent through speed changes.
- Save it per filament profile; PLA and PETG often differ noticeably.
Tip: if your seams look worse after enabling it, reduce retraction slightly and re-check temperature—overly hot filament can exaggerate ooze.
Flow rate calibration: get walls that measure right
“Perfect” extrusion isn’t about guessing 100%. Flow calibration aligns your slicer’s extrusion math with how your specific filament actually behaves. This improves dimensional accuracy and eliminates the classic “too thick outer walls” look.
Best quick method: two-wall measurement
Print a thin-wall or two-perimeter calibration object using your typical layer height and wall settings. Measure wall thickness with calipers and adjust flow until the measured value matches the expected value.
- If walls are thicker than expected: reduce flow slightly.
- If walls are thinner: increase flow slightly.
Keep the change small (often within a few percent). Large adjustments usually indicate temperature, partial clogging, or filament diameter issues.
Temperature and cooling: tune for strength without strings
Temperature towers are popular, but the “advanced” move is interpreting them based on your goal: cosmetics, bridging, or layer adhesion. For functional parts, prioritize bonding; for display parts, prioritize clean overhangs and low stringing.
- PLA: lower temps + adequate cooling usually win for sharp details.
- PETG: slightly higher temps with moderate cooling helps avoid brittle layers and messy overhangs.
- High-speed printing: you may need higher temps to maintain melt flow at volumetric demand.
Acceleration and input shaping: reduce ringing the easy way
Ringing/ghosting is often an acceleration problem, not a slicer “quality setting.” If your firmware supports input shaping, verify it’s enabled and then tune slicer acceleration/jerk to match your machine’s rigidity.
A practical workflow:
- Print a ringing test at your normal outer-wall speed.
- Lower acceleration in small steps until artifacts shrink without making prints painfully slow.
- Keep outer walls calmer than infill; that’s where artifacts show.
Bridge and overhang calibration for cleaner undersides
Bridges are a balance of speed, cooling, and flow. Too much flow sags; too little snaps. Once your temperature and flow are dialed in, bridge tuning becomes predictable.
- Increase bridge fan (within reason) before dropping temperature.
- Use slightly lower bridge flow to prevent droop.
- Adjust bridge speed so filament stays taut across the span.
Conclusion
Advanced calibration doesn’t have to be complicated: tune pressure advance for corner control, flow for accurate walls, temperature/cooling for material behavior, and acceleration for ringing. Each step targets a specific failure mode, so improvements stack instead of fighting each other.
Once you save these results per filament and print style, you’ll spend less time “babysitting” jobs and more time getting consistent, professional-looking parts—whether you’re printing fast prototypes or high-finish models.